wp show posts
はじめに
先ほどクラウドワークスでこのようなお仕事がありました。
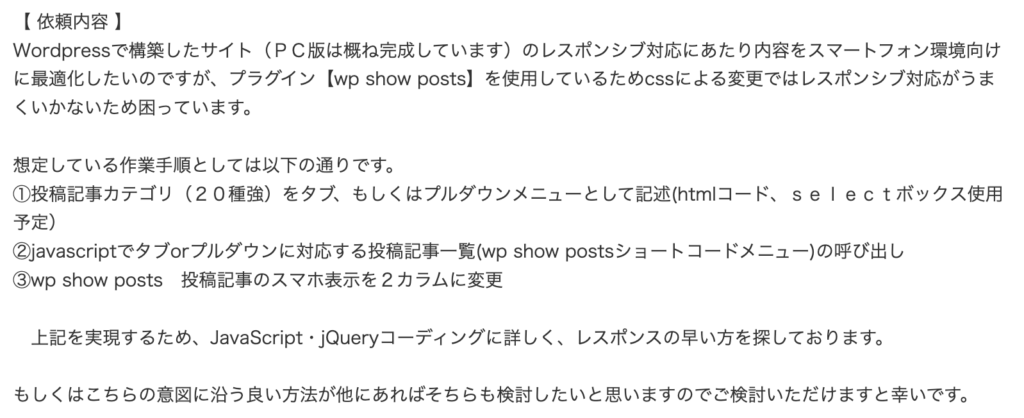
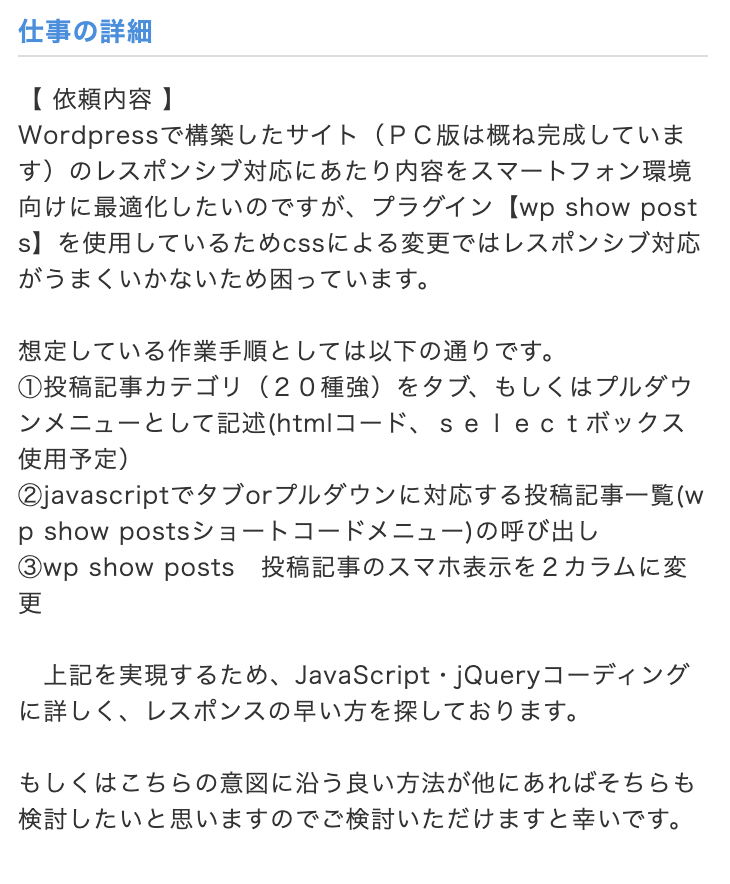
私は「wp show posts」というプラグインを使ったことがなかったので、
使ってみたいと思います。
wp show postsはどんなプラグイン?
記事一覧を作成できるプラグインです(プラグインのページはこちら)。

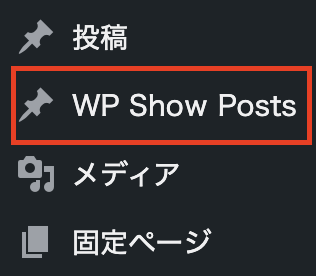
プラグインを有効化してみた
wp show postsを有効化したら、サイドバーに表示されました。
記事一覧を作成するための流れ
wp show postsで記事一覧を作成する大まかな流れはこちらです。
- どんな記事を表示させるのかを設定する
- どのページに表示させるのかを設定する
- 記事一覧の見た目を調整する
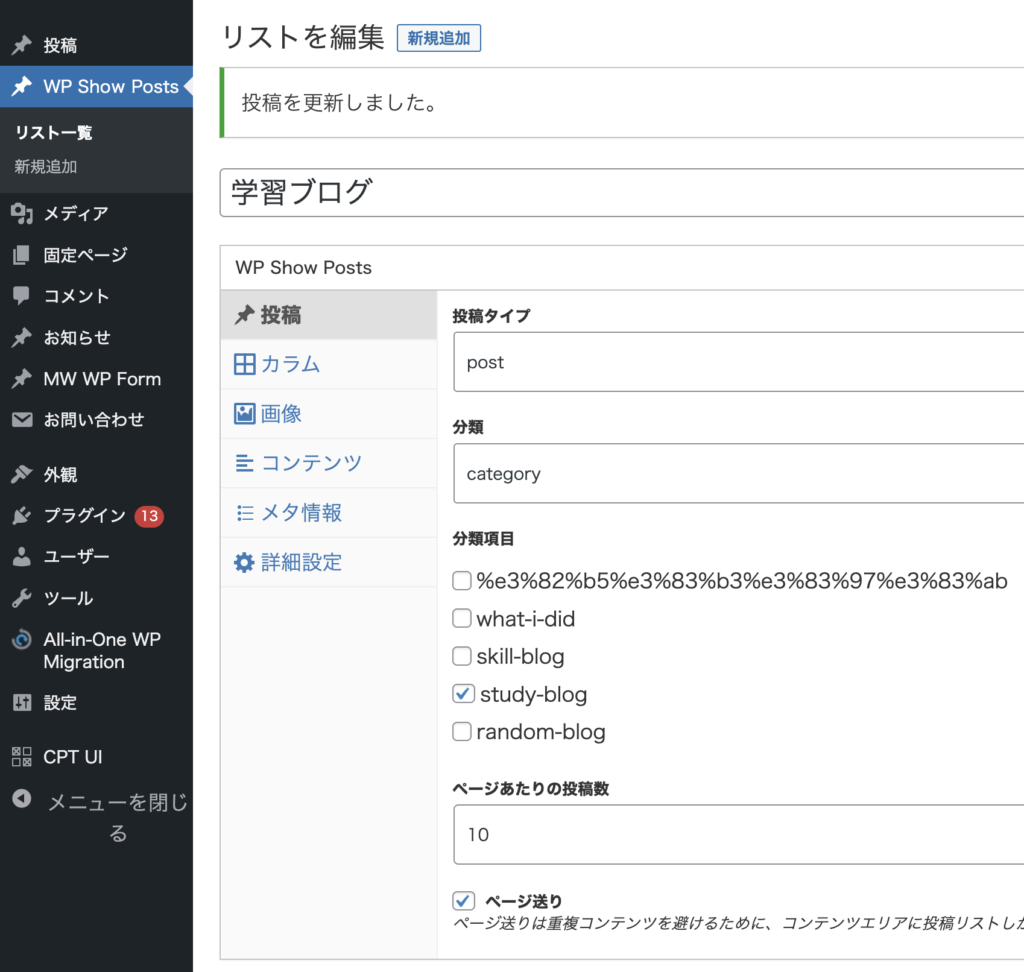
STEP1: どんな記事を表示させるのかを設定する
wp show postsの「リストを編集」で、出力したい記事のカテゴリーなどを設定します。
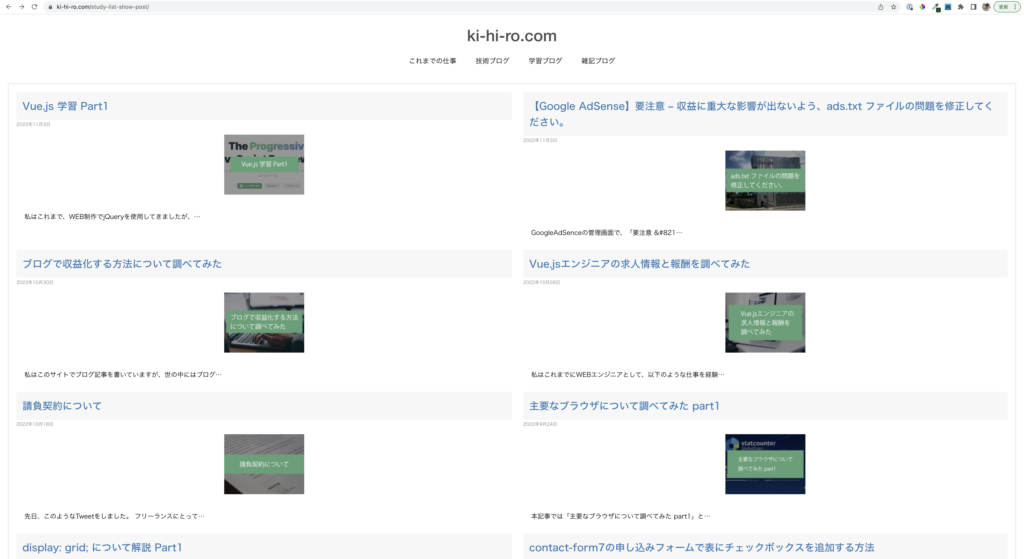
以下のようなサンプルサイトを作成しました(2025年現在は削除しています)。
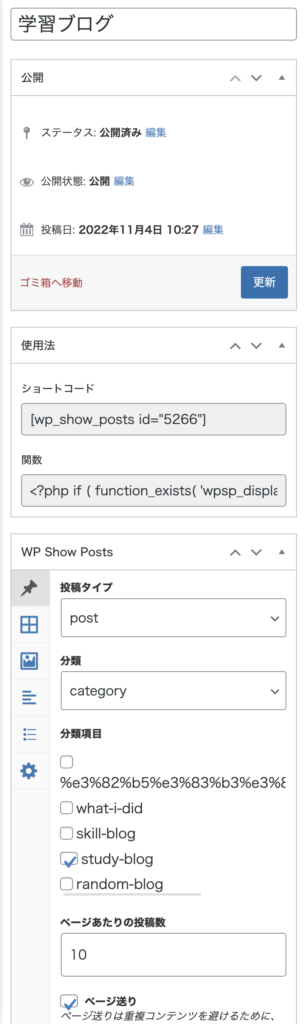
STEP2: どのページに表示させるのかを設定する
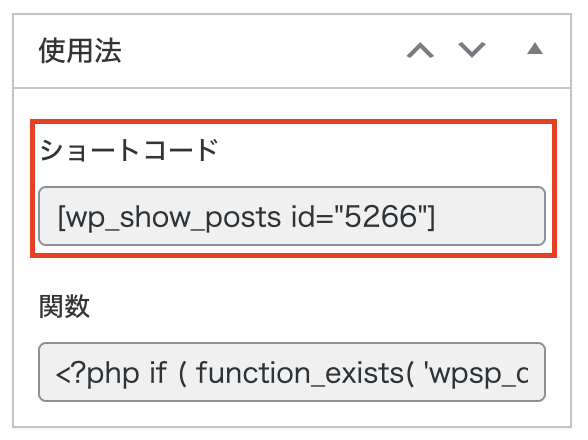
記事一覧を表示させたいページの編集画面に、ショートコードを貼り付けます。
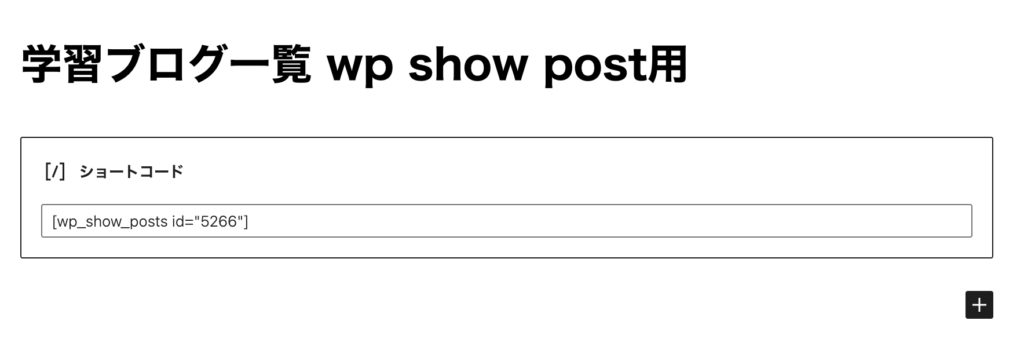
今回の例では、新規の固定ページを作成しました。
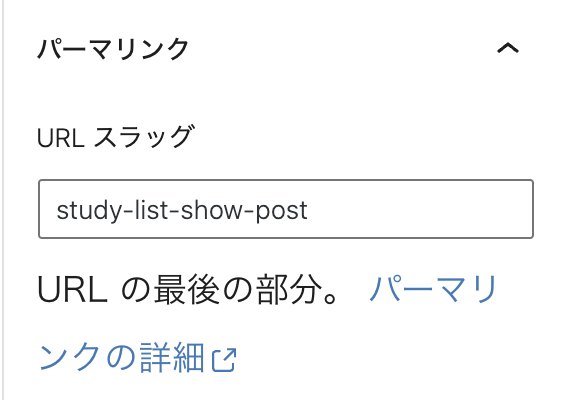
study-list-show-postというスラッグを設定しました。
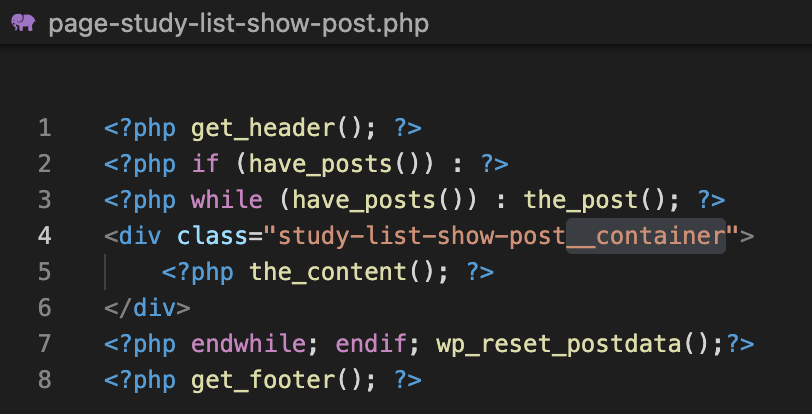
page-study-list-show-post.phpというテンプレートファイルを新規作成しました。
例として、こちらのサンプルサイトを用意しました(STEP3までの内容が反映されています)。
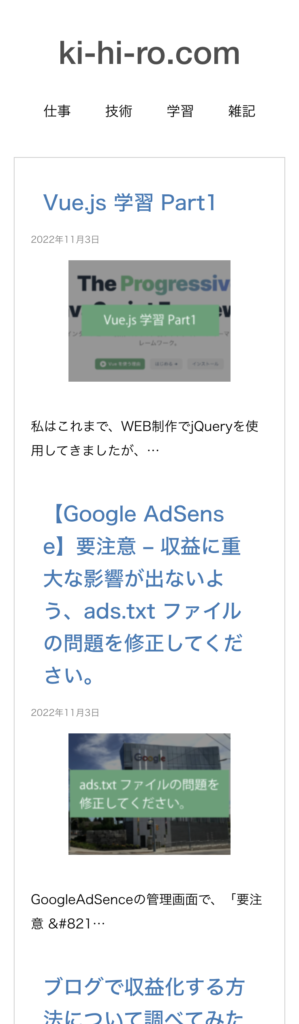
STEP3: 記事一覧の見た目を調整する
最後に見た目を調整します。
study-list-show-post.scssというsassファイルを作成しました。
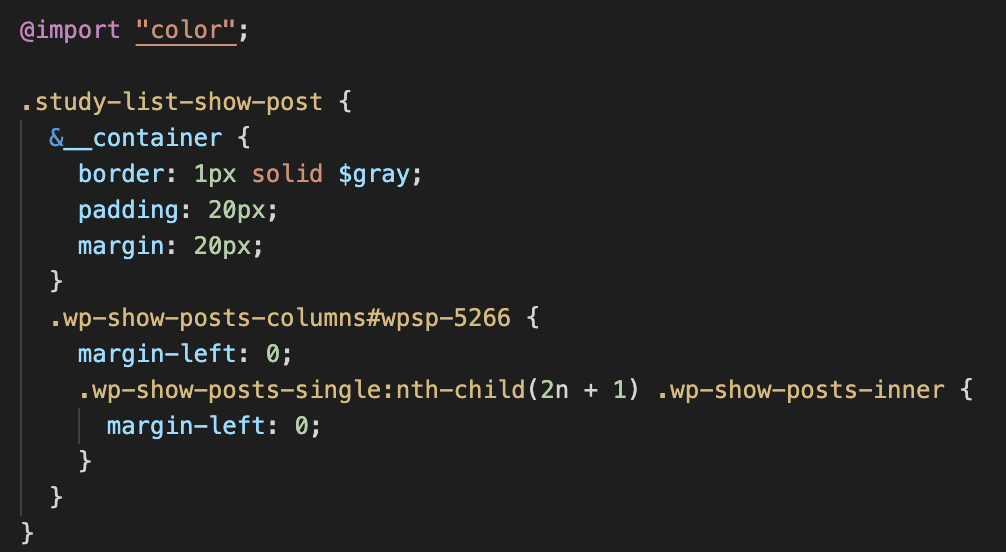
VScodeのlive sass compilerコンパイルしたstudy-list-show-post.cssを、functions.phpで読み込ませました。
wp_enqueue_style('study-list-show-post', get_template_directory_uri() . '/assets/css/study-list-show-post.css', [], date("YmdHi"));例として、こちらのサンプルサイトを用意しました。
まとめ
本記事の内容をまとめると以下のようになります。
- 「wp show posts」は、記事一覧を作成するためのプラグイン
- 記事一覧を表示させる手順1: どんな記事を出力させるのかを設定する
- 手順2: どのページに出力させるのかを設定する
- 手順3: 見た目を整える
関連書籍
本記事の内容に関連する参考書を紹介します。
WordPress 仕事の現場でサッと使える! デザイン教科書
私が、WordPressで自作テーマ作成が出来るようになったきっかけとなった本です(当サイトも自作テーマを使用しています)。

「bistro calme」という架空サイトの作成を通して、WordPressのテーマ作成が学べました。
その他の知識も網羅的に学べるのでおすすめです。
ざっくりつかむ CSS設計
こちらの本では、先ほどの「study-list-show-post.scss」に書いてあるように、ページ単位で範囲を限定してCSSを当てる方法も紹介されていました。

私が一度読んでみて、CSS設計を実践することで、
コーディング速度が2倍以上になった本です。
Web制作者のためのSassの教科書
こちらは、私が読んでみたいと思っている本です。

コメントを残す