Next.jsのセットアップを行いました

はじめに
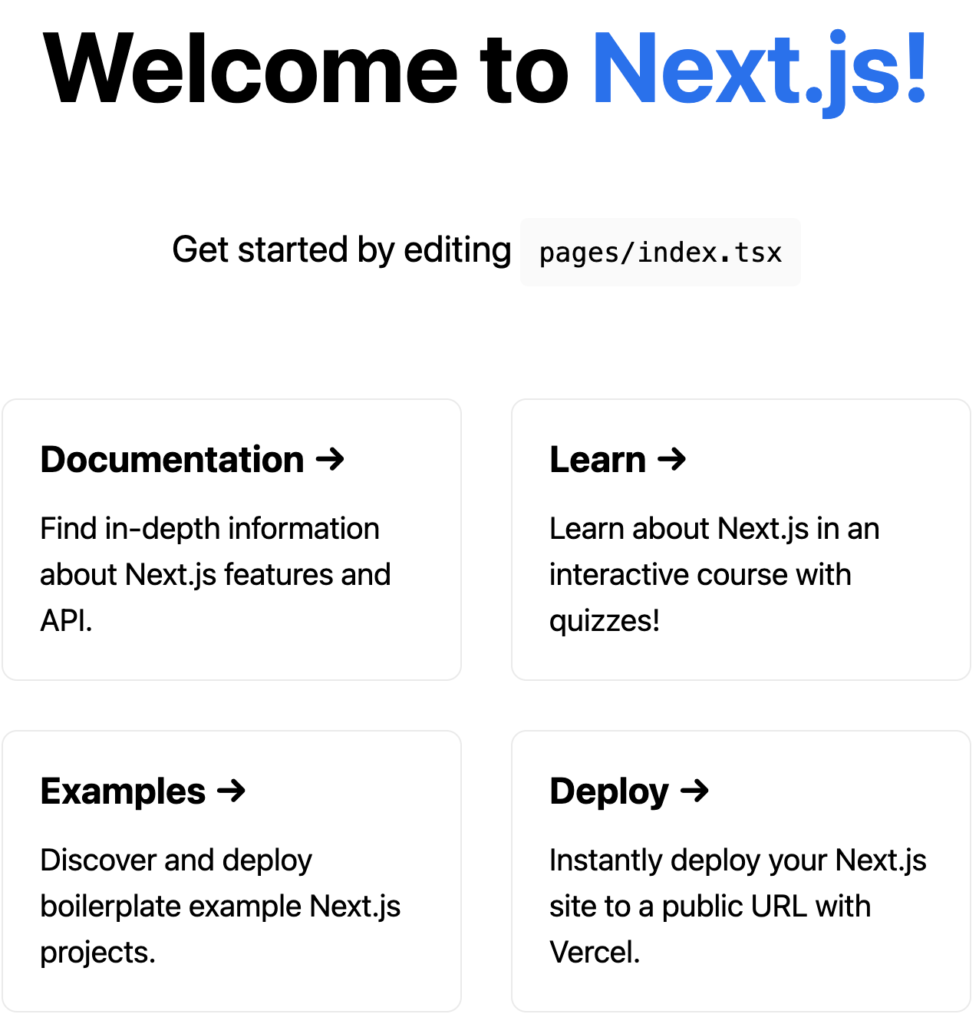
テスト環境を起動して、http://localhost:3000をcommandを押しながらクリックすると、Welcome to Next.js!という最初の画面に到達することができました。
Welcome画面が表示されるまで
node.jsのバージョン確認を行い、yarn create next-appをコマンドで打ち込むとmy-reactという名前でプロジェクトが作成されました。
yarn devを入力すると、url: http://localhost:3000が表示されました。
node.jsのバージョン確認
しまぶーさんの動画と自分がこれからNext.jsを学んでいく理由
しまぶーさんが、Next.jsについての動画を出してくれていました。
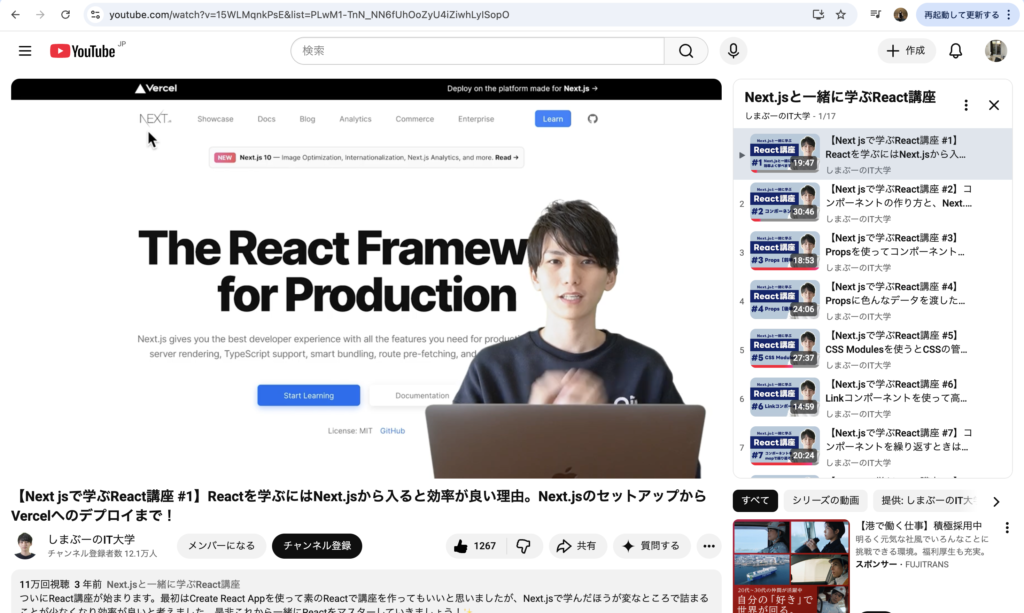
今後WEBエンジニアとして活躍していくのに、Next.jsを学んでおいておいた方がいいと思うので、まずは、この動画に沿って学んでいきます。
ゴールと全体の流れ
最終的に以下の画面に到達しました。
以下の流れで、Next.jsのセットアップを進めました。
- node.jsのバージョン確認
- コマンド入力
- 設定項目の選択
- テスト環境の起動
node.jsのバージョン確認
公式サイトに、14.6.0以上のNode.jsが必要と書かれていたので、バージョン確認しました。
16.18.1だったので、そのまま進めました。
Mac:Downloads shibatahiroshitaka$ node -v
v16.18.1
バージョンが表示されない場合は、以下のコマンドでnode.jsをインストールします。
brew install nodeコマンド入力
yarn create next-app を入力しました。
Mac:Downloads shibatahiroshitaka$ yarn create next-app
yarn create v1.22.4
[1/4] 🔍  Resolving packages...
[2/4] 🚚  Fetching packages...
[3/4] 🔗  Linking dependencies...
[4/4] 🔨  Building fresh packages...
warning Your current version of Yarn is out of date. The latest version is "1.22.19", while you're on "1.22.4".
info To upgrade, run the following command:
$ brew upgrade yarn
success Installed "create-next-app@13.0.5" with binaries:
      - create-next-app
設定項目の選択
プロジェクト名や、TypeScriptが必要かどうかなどを聞かれたので、選択していきました。
✔ What is your project named? … my-react
✔ Would you like to use TypeScript with this project? … No / Yes
✔ Would you like to use ESLint with this project? … No / Yes
Creating a new Next.js app in /Users/shibatahiroshitaka/Downloads/my-react.

Using yarn.

Installing dependencies:
- react
- react-dom
- next
- typescript
- @types/react
- @types/node
- @types/react-dom

// 省略

Initializing project with template: default

Success! Created my-react at /Users/shibatahiroshitaka/Downloads/my-react

✨ Done in 105.50s.my-reactという名前で、プロジェクトが作成されました。
テスト環境の起動
my-reactに移動して、yarn dev を行いました。
Mac:Downloads shibatahiroshitaka$ cd my-react
Mac:my-react shibatahiroshitaka$ yarn dev
yarn run v1.22.4
$ next dev
ready - started server on 0.0.0.0:3000, url: http://localhost:3000
yarn devができない場合は、npm install -g yarnでyarnをインストールします。yarn -vでバージョンが表示されることを確認します。
hiroki@shibatahiroshitakanoMacBook-Air my-react % npm install -g yarn

added 1 package in 1s
npm notice
npm notice New minor version of npm available! 11.12.1 -> 11.16.0
npm notice Changelog: https://github.com/npm/cli/releases/tag/v11.16.0
npm notice To update run: npm install -g npm@11.16.0
npm notice
hiroki@shibatahiroshitakanoMacBook-Air my-react % yarn -v
1.22.22
これでもyarn devができない場合、yarn installを行います。
http://localhost:3000 をcommandを押しながらクリックしました。
そうすると、以下の画面が開きました。
次回
次回は、同じ動画の内容で、Vercelを使用したデプロイを行なっていきます。
コメントを残す