コンポーネントの繰り返しに使用する「map関数」

はじめに
しまぶーさんが、「コンポーネントを、mapで繰り返そう」という動画を上げてくれていたので、学習ブログを書いていきます。
この記事では、主な内容のみを書いていきます(動画内では、詳細についても解説されています)。
今回使用した開発環境
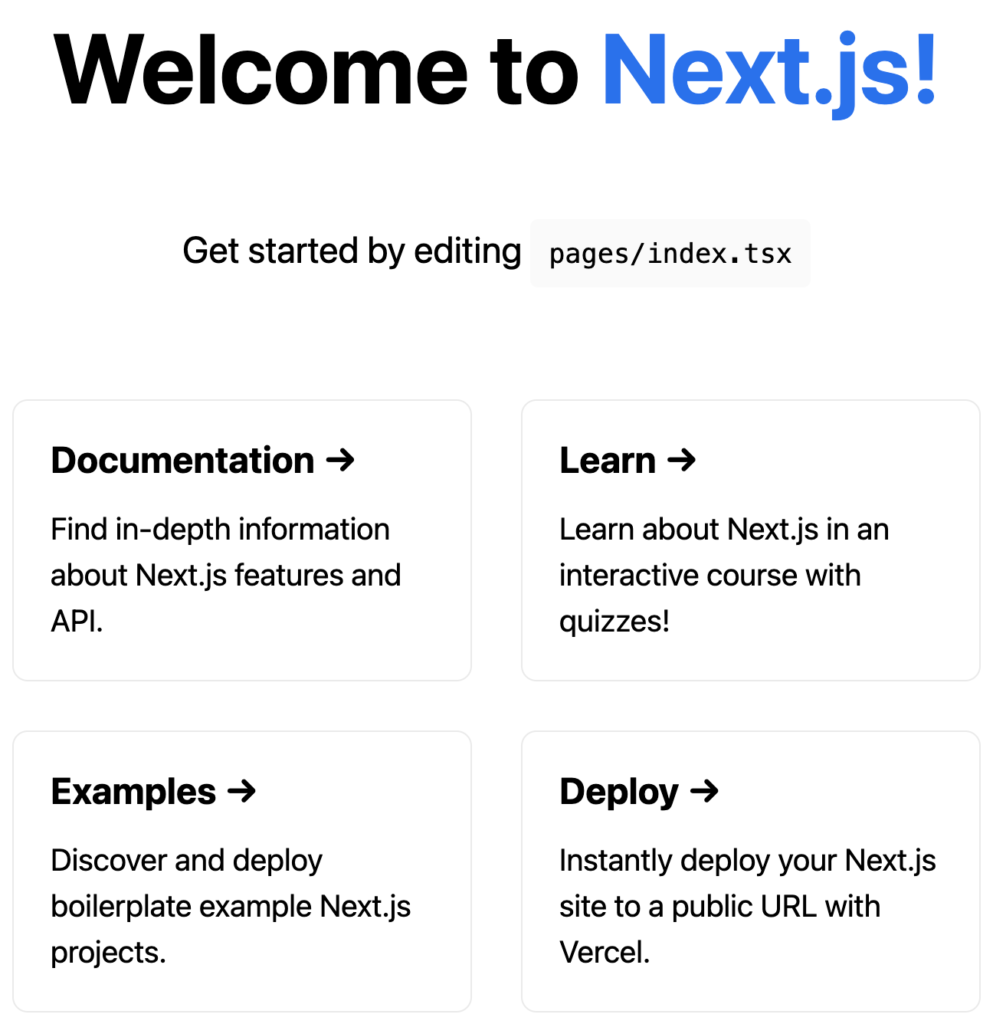
以前の記事で作成した、ローカル環境を使用しました。
言語は、TypeScriptを設定しましたが、今回の内容では、JavaScriptのみを使用しています。
現状のコード
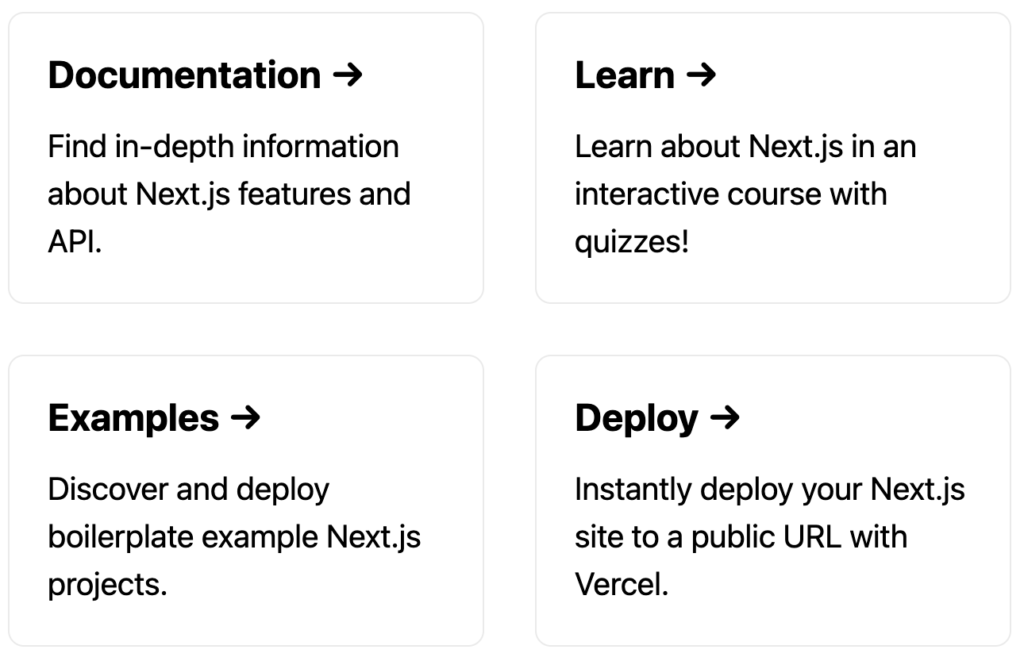
現状では、カード部分の繰り返し部分で、以下のように、aタグ、h2タグ、pタグを4セットそのまま書いています。
<a href="https://nextjs.org/docs" className={styles.card}>
<h2>Documentation →</h2>
<p>Find in-depth information about Next.js features and API.</p>
</a>
<a href="https://nextjs.org/learn" className={styles.card}>
<h2>Learn →</h2>
<p>Learn about Next.js in an interactive course with quizzes!</p>
</a>
<a
href="https://github.com/vercel/next.js/tree/canary/examples"
className={styles.card}
>
<h2>Examples →</h2>
<p>Discover and deploy boilerplate example Next.js projects.</p>
</a>
<a
href="https://vercel.com/new?utm_source=create-next-app&utm_medium=default-template&utm_campaign=create-next-app"
target="_blank"
rel="noopener noreferrer"
className={styles.card}
>
<h2>Deploy →</h2>
<p>
Instantly deploy your Next.js site to a public URL with Vercel.
</p>
</a>例えば、HTML構造に変更があったときに、4箇所全てを変更する必要があるといった問題点があります。
また、以下のようなメリットがあるため、データと構造を分けていきます。
- データと構造が分かれていた方が、見やすい
- データを追加するだけで、コンポーネントを増やすことができる
- データを削除するだけで、コンポーネントを減らすことができる
データと構造を分けていく
以下の手順で、データと構造を分けていきます。
- 固有のデータを配列でまとめて定義する
- map関数を使用して、配列のデータを展開する
固有のデータを配列でまとめて定義する
リンク、タイトル、説明文をオブジェクト形式で配列にまとめます。
一つ目のデータのみを、ITEMSという配列に入れると以下のようになります。
const ITEMS = [
  {
    href: "https://nextjs.org/docs",
    title: "Documentation →",
    description: "Find in-depth information about Next.js features and API.",
  },
];
あと3つ分のデータを入れていきます。
const ITEMS = [
  {
    href: "https://nextjs.org/docs",
    title: "Documentation →",
    description: "Find in-depth information about Next.js features and API.",
  },

  {
    href: "https://nextjs.org/learn",
    title: "Learn →",
    description: "Learn about Next.js in an interactive course with quizzes!",
  },

  {
    href: "https://github.com/vercel/next.js/tree/canary/examples",
    title: "Examples →",
    description: "Discover and deploy boilerplate example Next.js projects.",
  },

  {
    href: "https://vercel.com/new?utm_source=create-next-app&utm_medium=default-template&utm_campaign=create-next-app",
    title: "Deploy →",
    description: "Instantly deploy your Next.js site to a public URL with Vercel.",
  },
];
これで、固有のデータをオブジェクト形式で配列にまとめることが出来ました。
map関数を使用して、配列のデータを展開する
次に、map関数を使用して、配列 ITEMSを繰り返しながら展開します。
{
 ITEMS.map(item => {
  return (
   <a href={item.href} className={styles.card}>
   <h2>{item.title}</h2>
   <p>{item.description}</p>
   </a>
  )
 })
}
itemの中には、オブジェクト形式で定義したリンク、タイトル、説明文が入っています。
VScodeで確認できました。
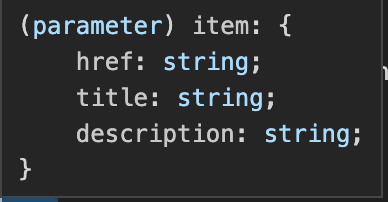
それぞれ、.(ドット)で繋いで展開します。
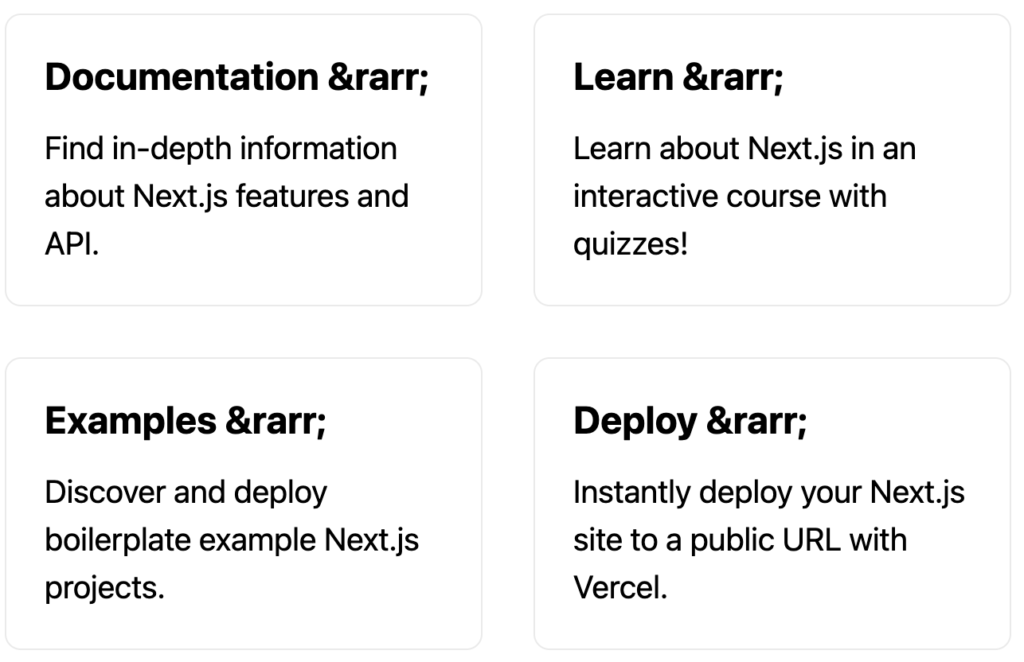
これで、オブジェクトの中身が展開されたコンポーネントが、以下のように表示されました。
発生した問題点の解決
これまでの作業で、以下2つの問題点が発生しました。
- コンソールエラー
- HTMLエンティティがそのまま表示されてしまっている
コンソールエラー
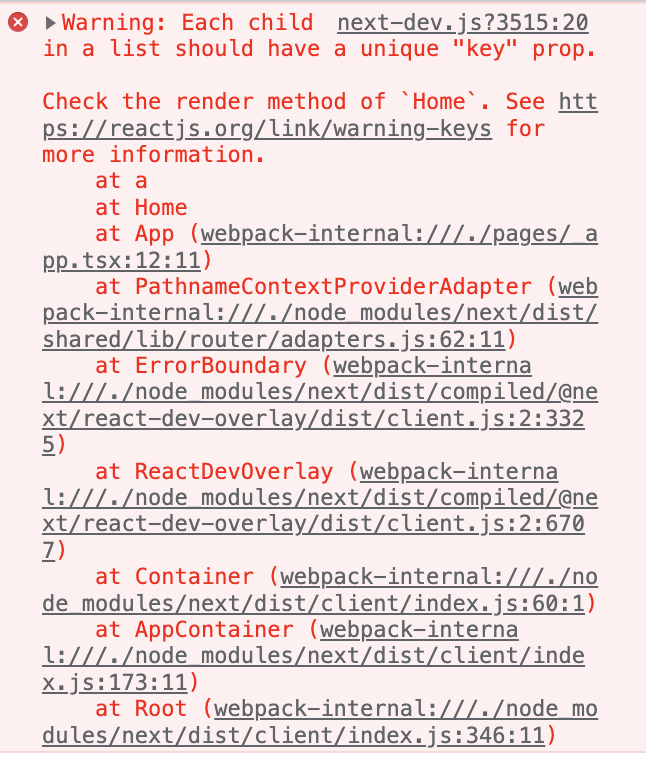
「それぞれの子要素は、一意のキーがなければなりません」というエラーが発生しています。
Warning: Each child in a list should have a unique "key" prop.以下のように、keyを設定すると、エラーが解決できました。
{
 ITEMS.map(item => {
  return (
   <a key= {item.href} href={item.href} className={styles.card}>
    <h2>{item.title}</h2>
    <p>{item.description}</p>
   </a>
  )
 })
}
HTMLエンティティがそのまま表示されてしまっている
→ のようなHTMLエンティティは、JSX内で書くと記号に変換されます。
しかしながら、今回は文字列として展開しているため、そのまま表示されてしまっています。

配列で定義するときに、HTMLエンティティではなく、
変換後の記号を書くことで解決できます。
title: "Documentation →",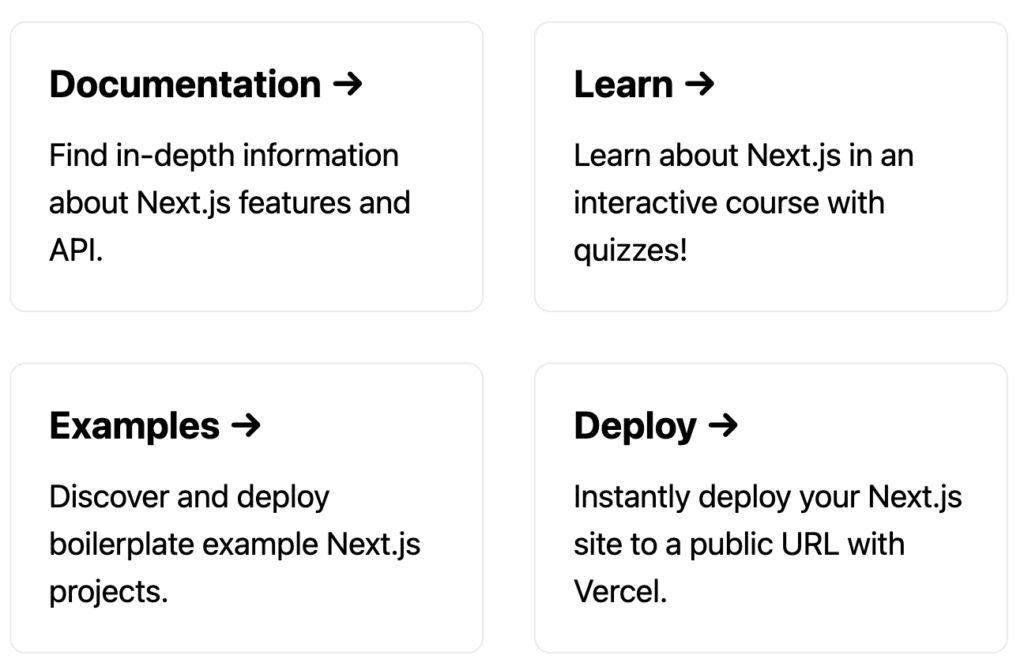

コメントを残す